


How to Lay a Patio: A Complete Step-by-Step Guide
A patio is one of the most rewarding DIY projects you can take on in the garden and one of the most practical too. Done well, it adds usable outdoor living space, increases your home's resale value, and can last decades with minimal upkeep. The good news is that laying a patio is well within reach for a competent DIYer. You don't need specialist skills, just the right materials, a bit of planning, and a willingness to take your time on the groundwork.
That groundwork is where most DIY patios succeed or fail, so we'll spend plenty of time on it in this guide. One thing worth saying upfront: Northern Ireland's climate is wetter than most of the UK. Good drainage isn't optional here… it's essential. A patio laid without proper drainage will puddle, shift, and eventually crack. Follow the steps below and you'll avoid the mistakes we see most often.
Before You Start
Planning permission is not normally required for a domestic patio in Northern Ireland, but if you're paving a large area (over 5 square metres) with impermeable slabs in the front garden, you may need to ensure drainage is included. Permeable paving or a drainage channel to a lawn or planted area will cover you in most cases. If in doubt, check with your local council.
What You'll Need
Tools
- Spade and fork
- Wheelbarrow
- Rubber mallet
- Spirit level (long)
- Builder's square
- Tape measure and string line
- Plate compactor (hire)
- Pointing trowel
- Angle grinder
- Brush and stiff broom
Materials
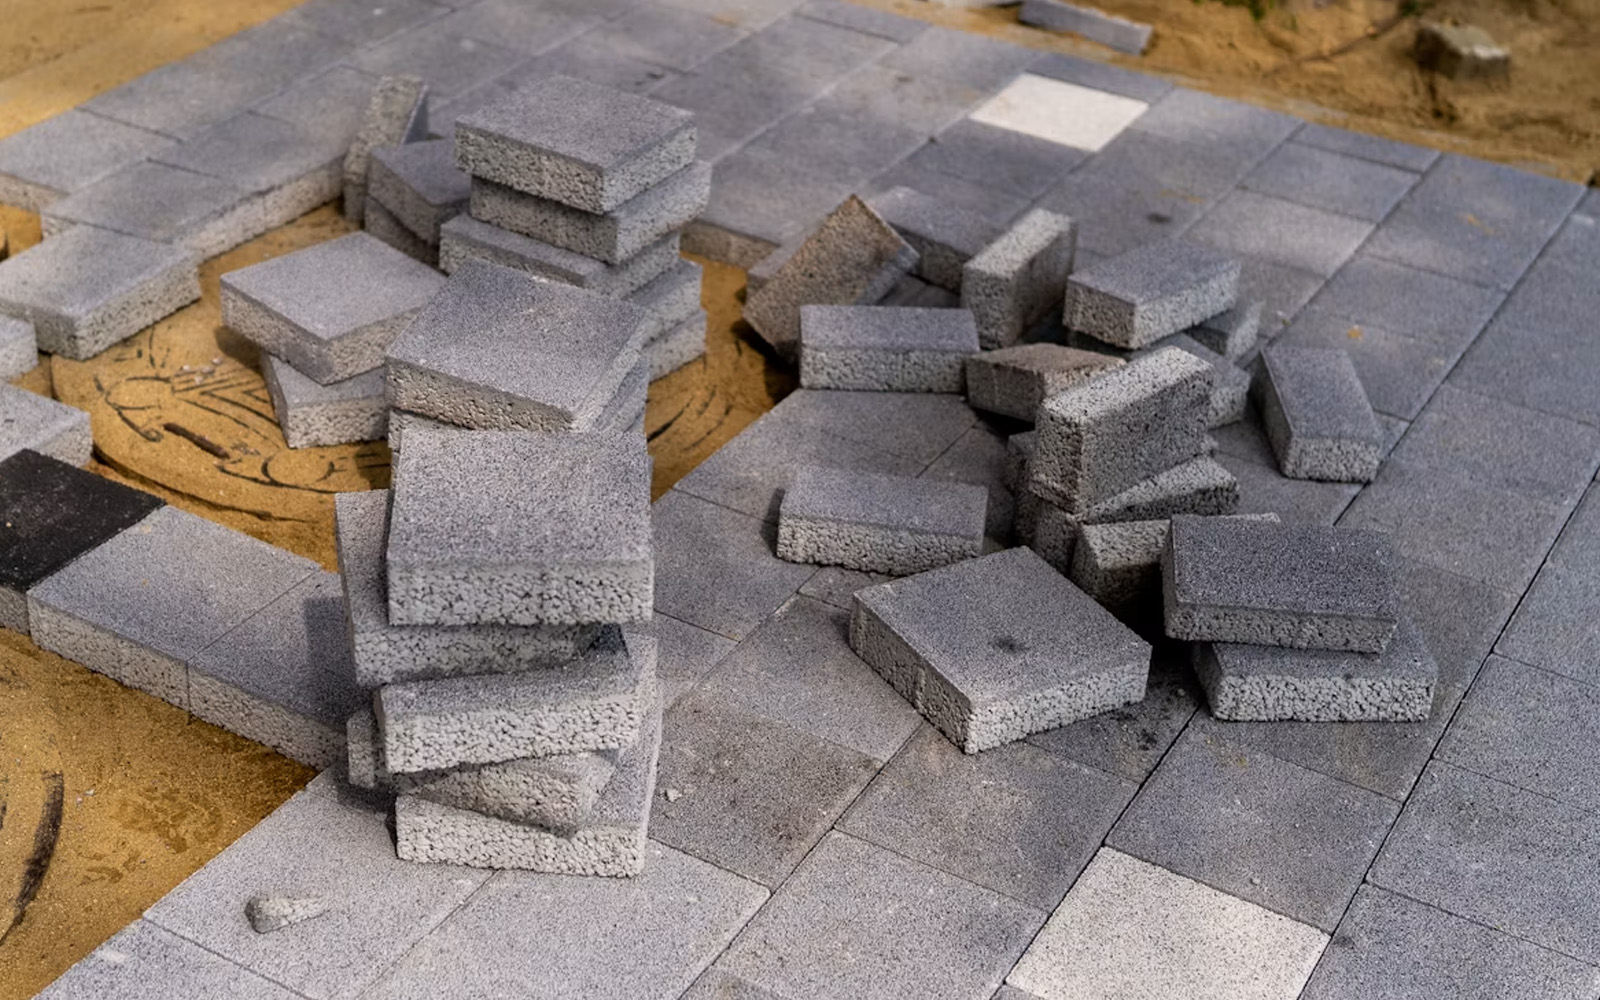
- Paving slabs (porcelain, concrete or natural stone)
- Sharp or plastering sand
- Cement (for mortar)
- Quarry Dust
- Weed control membrane (optional)
- Jointing compound or mortar for pointing
Measure your patio area in square metres (length × width) and add 10% for cuts and wastage. For hardcore, allow 100mm depth. For your sharp sand bed, allow 50mm. Our team at MacBlair can help you calculate quantities, just bring your measurements in.
Choosing Your Paving Slabs
- Porcelain Slabs: The premium choice. Extremely hard wearing, frost resistant, low maintenance, and available in a huge range of colours and finishes. Highly recommended for Northern Ireland's wet conditions.
- Concrete Slabs: The most affordable option. Good durability but more porous. They'll need sealing to prevent algae build up in the NI climate.
- Natural Stone: (sandstone, limestone, slate) Beautiful, with individual character in every slab. Requires more maintenance. Sandstone in particular needs regular sealing in wet climates.
How to Lay a Patio: Step by Step
-
Step 1: Mark Out and Excavate
Mark out your patio area with string lines and pegs, checking corners are square with a builder's square. Excavate to a total depth of around 200-250mm below your finished patio level, allowing for 100mm base, 50mm sand bed, and slab thickness. Important: slope your excavation slightly away from the house. A fall of around 1:60 (about 15mm per metre). This is how water drains off the finished patio. -
Step 2: Lay and Compact the Hardcore Base
Fill the excavated area with quarry dust and compact thoroughly with a plate compactor. Go over the area twice in different directions. In soft or clay heavy ground (common across much of Northern Ireland), consider a geotextile membrane under the quarry dust. -
Step 3: Lay the Sand Bed
Spread sharp sand or plastering sand over the compacted hardcore to a depth of 50mm. Do not use builder's sand, sharp (grit) sand is the correct material as it compacts and drains correctly. Use screed rails to achieve a consistent depth. -
Step 4: Lay Your First Slabs
Start from a fixed edge, the house wall or a straight boundary. Lay slabs onto the sand bed and tap down firmly with a rubber mallet. Check each slab with your spirit level and maintain your drainage fall. For large porcelain slabs (600mm+), use a full mortar bed. -
Step 5: Cut Slabs to Fit
Use an angle grinder with a diamond blade, or hire a slab cutter. Always wear eye and ear protection. For porcelain, use a blade rated specifically for porcelain as a standard masonry blade will chip it. -
Step 6: Point the Joints
Once all slabs are laid and the bed has set (at least 24 hours), point the joints. Brush-in jointing compound is the easiest option. Mortar pointing (3 parts sharp sand, 1 part cement) is more durable. For porcelain, always use a compound designed specifically for porcelain. -
Step 7: Clean Up and Seal
Once pointing is cured (24–48 hours), clean with water and a stiff brush. Sealing is optional for porcelain but strongly recommended for concrete and natural stone in Northern Ireland's wet climate.
Common Mistakes to Avoid
- Skipping the hardcore base — the most common cause of patio failure
- Not allowing for drainage — always build in a fall of at least 1:60 away from the house
- Using the wrong sand — use sharp (grit) sand for the bed layer, not builder's sand
- Laying too close to the damp proof course — finished level should be 150mm below the DPC
- Rushing the pointing — wait at least 24 hours after laying before pointing
Frequently Asked Questions
A typical 20–30m² patio takes most DIYers a full weekend: one day for groundwork, one for laying and pointing.
Porcelain. It's frost-resistant, virtually non-porous, and far easier to keep clean in a wet climate.
No. You need to excavate and compact a proper sub-base. Slabs laid on grass or topsoil will sink and crack within a couple of years.
Good quality pointing is the best defence, with a weed control membrane under the hardcore for extra protection.
Get Your Materials from MacBlair
MacBlair stocks everything you need for a patio project. Paving slabs, hardcore, sharp sand, cement, jointing compounds, and all the tools. Our teams across Northern Ireland are happy to help you calculate quantities and choose the right slab. Visit your nearest MacBlair branch or browse our landscaping range at macblair.com.