



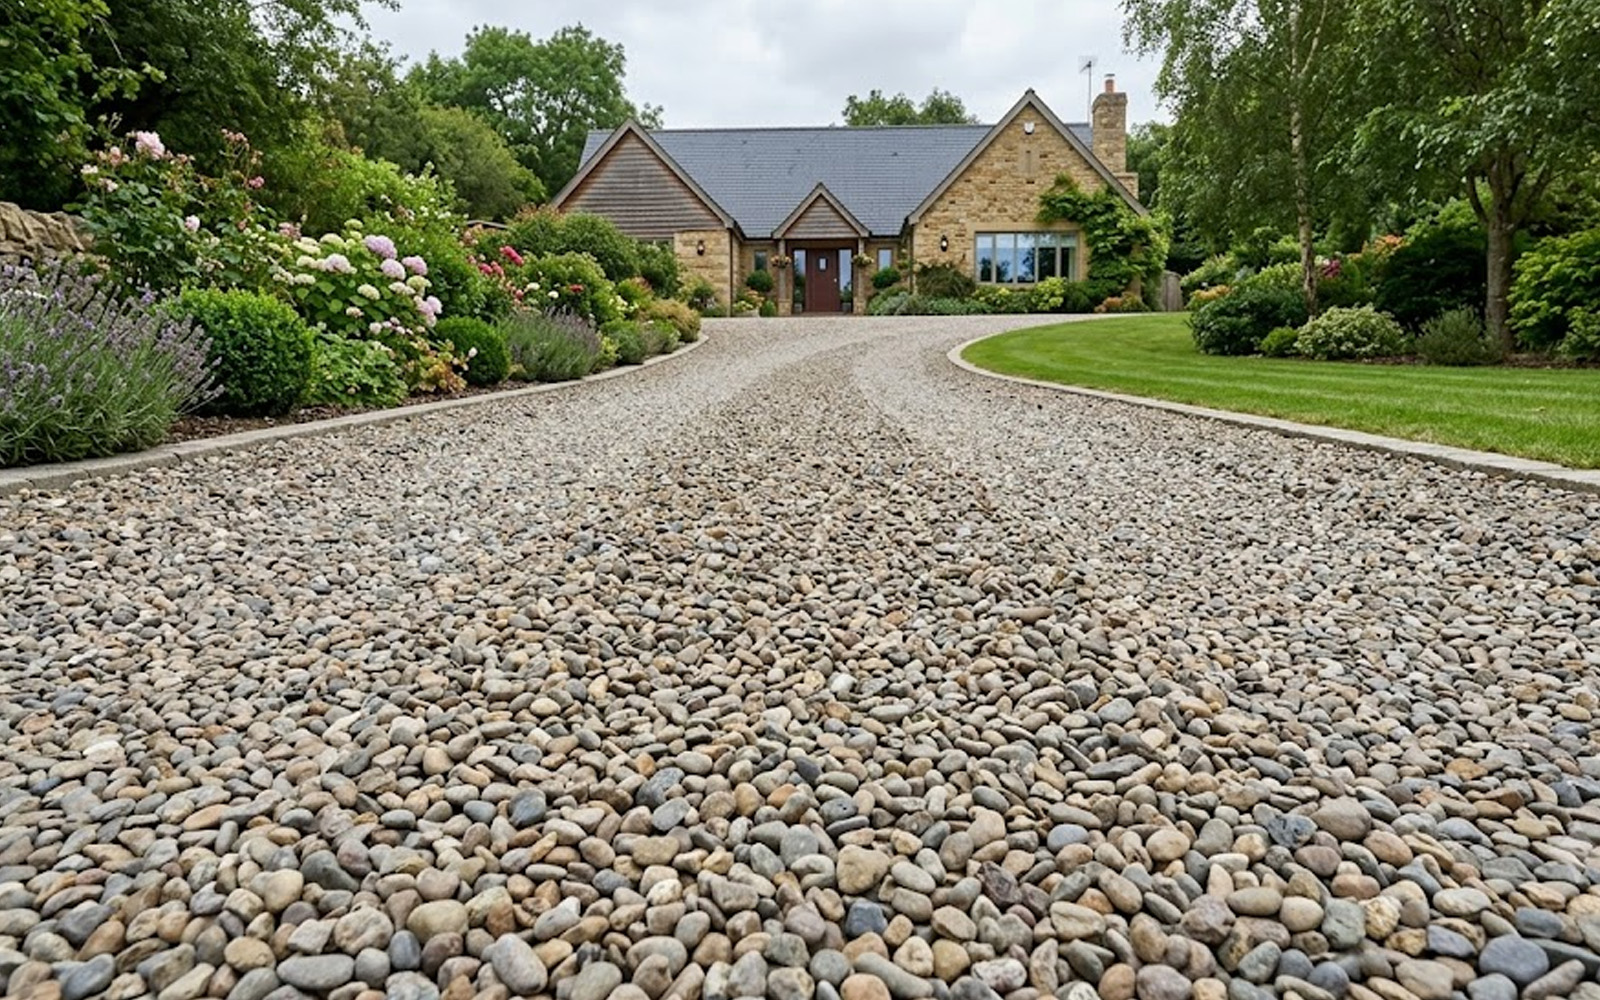
How to Lay a Gravel Driveway: A Step-by-Step DIY Guide
A gravel driveway is one of the best-value DIY projects you can take on. It’s a fraction of the cost of block paving or tarmac, drains naturally (no planning permission needed for permeable surfaces in NI), and looks great with most house styles. Done properly, a gravel drive will last 15–20 years with minimal upkeep, and it’s well within reach of any competent DIYer with a free weekend and some help.
This guide walks through everything you need to do, in order: planning, excavation, sub-base, membrane, edging and the gravel itself. We’ll also cover the most common mistakes and how to avoid them.
Before you start
A few things worth knowing before you dig:
- Permeable surfaces (gravel, permeable block paving) don’t need planning permission in NI. Impermeable surfaces over 5m² do, unless surface water drains to a permeable area on your own land.
- Mark the drive 5m or more from any underground services before excavating. Check with NI Water, NIE Networks and your gas supplier if you’re uncertain.
- A gravel driveway needs proper edging as without it, the gravel migrates out into the lawn and footpath within a year.
- Allow a slight fall (1:80 to 1:100) toward a soakaway, lawn or planted area for drainage.
How Much Does a Gravel Driveway Cost?
As a rough budget for a typical 40m² (4m x 10m) two-car driveway in NI:
- MOT Type 1 sub-base (100mm depth): £200–£280
- Geotextile membrane (~50m²): £40–£80
- 20mm decorative gravel (50mm depth): £350–£550
- Edging (timber, steel, brick or concrete): £150–£400
- Plate compactor hire (1 day): £45–£60
- Total DIY: £785–£1,370
A professionally installed gravel drive of the same size costs £2,200–£3,500 in NI, meaning the DIY route saves £1,400–£2,100 for one or two weekends of work.
What You’ll Need
| Tools | Materials |
|---|---|
|
|
Choosing your gravel
- 20mm angular gravel: The right choice for driveways. The angular shape locks together under car wheels and stays in place.
- 10mm gravel: Better for paths than driveways as it works loose under car tyres.
- Pea gravel: Rounded shape, looks soft and traditional, but rolls under tyres. Avoid on driveways.
- Self-binding gravel: A mixed-grade gravel that compacts down hard. A useful middle ground between loose gravel and bound surfaces meaning fewer surface migration issues, slightly less open look.
How to Lay a Gravel Driveway: Step by Step
STEP 1: PLAN AND MARK OUT
Decide the size of the drive (4m wide for two cars side-by-side, 3m for one). Mark out the perimeter with marker spray. Set string lines at the finished gravel level, about 100mm below your finished surrounding levels. Plan the fall: aim for 1:80 toward an outlet (lawn, soakaway, planted area).
STEP 2: EXCAVATE
Dig out the marked area to a depth of around 150mm below your finished gravel level. That allows for 100mm of compacted sub-base and 50mm of gravel on top. In heavy NI clay, go deeper (200mm total) and put the extra material into the sub-base. Cart away the excavated soil as it’s usually too clay-heavy to re-use easily and is best gone.
STEP 3: COMPACT THE SUB-GRADE
With the sub-grade (the natural ground at the bottom of your excavation) exposed, run the plate compactor over it twice in different directions. This stops settlement under the new drive once vehicles start using it. In particularly soft or clay-heavy spots, lay a 100mm extra layer of MOT Type 1 here as a working base before continuing.
STEP 4: LAY THE GEOTEXTILE MEMBRANE
Lay a permeable geotextile membrane across the whole excavated area. Overlap adjacent sheets by at least 200mm. Cut around any drains or features with a Stanley knife. The membrane stops the sub-base mixing into the underlying soil and stops weeds growing up through the gravel.
STEP 5: LAY AND COMPACT THE SUB-BASE
Spread MOT Type 1 across the membrane to a depth of 100mm. Rake level (with your finished fall) and compact with the plate compactor, at least twice in different directions. A solid, well-compacted sub-base is what stops your gravel drive rutting under car wheels. For a heavier-use driveway, or where you’ll occasionally have lorries or trade vehicles, increase the sub-base to 150mm in two compacted layers.
STEP 6: INSTALL EDGING
Edging holds your gravel in place. Without it, the gravel migrates outward and you lose 10–20% within a year. Common edging options:
- Pressure-treated timber edging boards on posts (cheapest)
- Steel or aluminium edging strip (modern, low profile)
- Brick or concrete block edging set in mortar (most durable)
- Plastic or metal U-channel edge restraints (DIY-friendly)
Set the edging at the same level as your finished gravel surface. Use marker pegs and concrete to fix timber posts.
STEP 7: SPREAD THE GRAVEL
Tip the gravel into the area and spread evenly with a rake to a depth of no more than 50mm. A deeper gravel layer feels nice underfoot but is harder to drive on (wheels sink in) and migrates more. 50mm is the sweet spot for a driveway. Resist the urge to compact the gravel itself. That locks it into a rigid surface and defeats the point. Just rake level and leave it.
STEP 8: SETTLE WITH CARS
Drive over the gravel a few times in the first week or two to settle it into the sub-base. Top up any low spots with a wheelbarrow of fresh gravel, usually a 10–20kg bag in the first month or two, then nothing for years.
Maintenance
Gravel driveways are low-maintenance, not no-maintenance. Set yourself a basic schedule:
- Rake the surface back to level every few months.
- Pull any weeds that punch through within a week or two of appearing which is easy when they’re young, much harder later.
- Top up gravel every 2–3 years (one or two bulk bags is usually plenty).
- Re-grade after very heavy NI winters. Rake gravel back from drives that have settled into ruts.
- Reapply a weed killer (glyphosate-free options for households with kids/pets) once a year if needed.
Common Mistakes to Avoid
- Skipping the sub-base: Gravel laid directly on soil ruts deeply within months. Always lay 100mm of compacted MOT Type 1 first.
- No membrane: Weeds and rising soil destroy the drive within two years. Geotextile is non-negotiable.
- Wrong gravel size: 10mm or pea gravel rolls under car tyres. Use 20mm angular gravel for any driveway.
- Gravel too deep: More than 50mm feels great to walk on but is hard to drive on. Wheels sink in and create ruts. Stick to 50mm.
- No edging: Without edging the gravel migrates onto lawns and footpaths. Always install edging before laying the gravel.
- Wrong fall: A flat drive puddles, a steep drive scours during heavy NI rainfall. 1:80 to 1:100 is the sweet spot.
Frequently Asked Questions
15–20 years with basic maintenance. The sub-base lasts indefinitely; the gravel needs topping up every 2–3 years and refreshing more fully every 8–10 years.
Generally no, because gravel is a permeable surface. Impermeable surfaces (tarmac, sealed block paving) over 5m² require permission unless surface water drains to a permeable area on your land.
Yes, that’s part of the appeal for many homeowners (it acts as an audible security warning). If you want quieter, self-binding gravel is firmer and quieter underfoot.
Yes. Break up any loose surface, lay a geotextile membrane, then 50mm of gravel. Skip the sub-base since the tarmac is already there. Edging is still important.
Steel edging strip for a modern look, brick or concrete block for a traditional finish, treated timber for the cheapest option. All work; the cost and look differ.
Get Your Gravel & Sub-Base from MacBlair
MacBlair stocks 20mm decorative gravel in a wide range of colours, MOT Type 1, geotextile membranes, edging materials and the tools you need to lay them. Bring your driveway measurements into your nearest NI branch and our team will calculate exact quantities for the job, plus arrange bulk delivery if needed.