



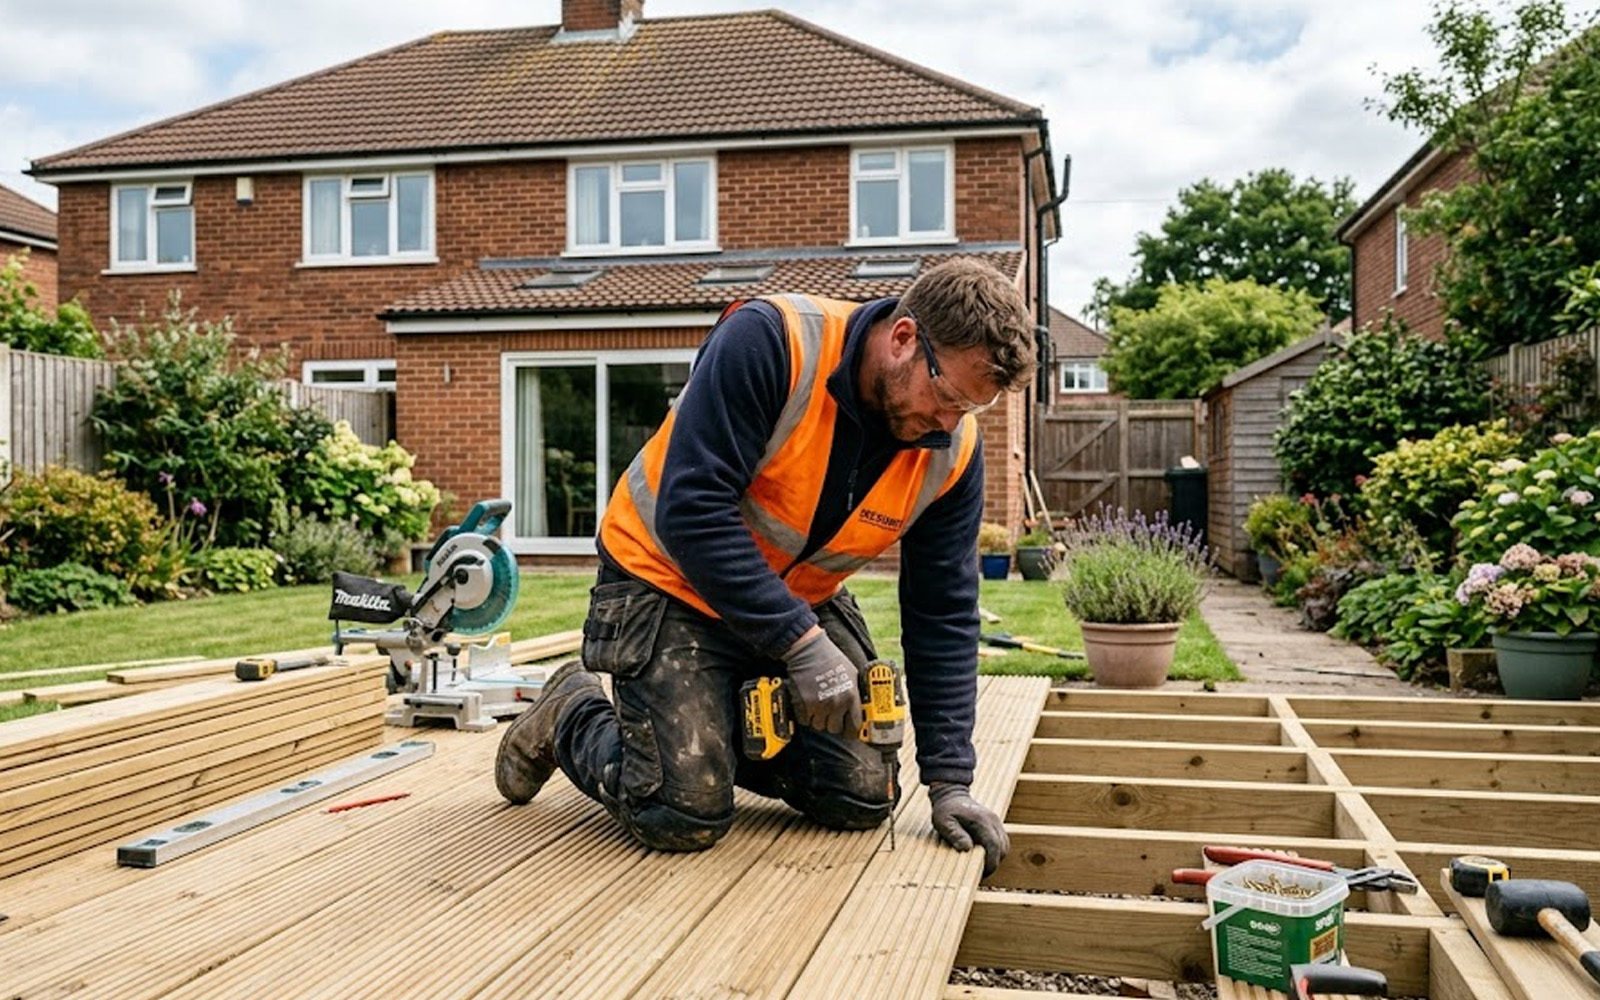
How to Build Decking: A Complete Step-by-Step DIY Guide
A well-built deck is one of the most valuable additions you can make to a Northern Ireland garden. It creates an outdoor living space that works even in unpredictable weather, adds real value to your home, and if done properly, will last twenty years or more with minimal maintenance.
Building decking is a more involved DIY project than laying a patio. You're constructing a structural frame before a single board goes down. That said, it's well within reach if you're comfortable with basic carpentry, prepared to follow the steps carefully, and willing to take your time with the groundwork.
This guide covers ground-level decking built on timber posts and joists, which is the most common type for NI gardens. We'll cover everything from planning and materials through to laying boards, fixing gaps, and finishing the timber for the NI climate.
Before you start: planning permission
Decking in a domestic garden in Northern Ireland is generally permitted development, which means you don't need planning permission provided the deck is no more than 300mm above ground level and doesn't cover more than 50% of your garden. If you're building a raised deck (above 300mm) or your property is listed or in a conservation area, check with your local council before starting.
What You'll Need
| Tools | Materials |
|---|---|
|
|
All structural timber such as posts, joists and bearers must be pressure-treated (also called tantalised or tanalised). Untreated timber in contact with the ground or exposed to the NI climate will rot rapidly. Look for C16 or C24 rated structural timber from MacBlair. For decking boards, use boards specifically profiled for decking as the grooved surface aids drainage and slip resistance.
Planning Your Deck
Before you buy a single piece of timber, spend time planning the build properly. A well-planned deck goes up faster, wastes less material, and looks better when it's done.
Size and position
- Mark out your intended deck area on the ground with canes and string.
- Think about how the deck will be used: as a seating, dining, BBQ area, and how it connects to the house and garden.
- Check the aspect: a north-facing deck will spend most of the time in shade.
- A deck raised above ground level will need a balustrade (handrail) for safety if the drop is 600mm or more.
Calculating materials
- Decking boards: Calculate the area (length x width in m²). Divide by the board width in metres, then multiply by the board length to get total linear metres. Add 10% for cuts and wastage.
- Joists: Space joists at 400–500mm centres (see table below). Calculate how many you need across the width of the deck.
- Posts: One post per corner plus intermediate posts at maximum 1.8m centres for a ground-level deck. Bring your measurements to MacBlair and our team can help you calculate exactly what you need.
| Decking Type | Joist Spacing | Notes |
|---|---|---|
| Timber boards (32mm+) | 400–500mm centres | Standard for most domestic decking projects |
| Timber boards (25mm) | 300–400mm centres | Thinner boards need closer joist spacing to prevent flex |
| Composite boards | 400mm centres | Most manufacturers specify 400mm; always check product instructions |
| High-traffic or commercial | 300mm centres | Tighter spacing for areas with heavy use or large spans |
How to Build Decking: Step by Step
Follow the steps below in order. The structural groundwork takes the most time so don't rush it. The boards go down quickly once the frame is solid.
STEP 1: MARK OUT AND PREPARE THE AREA
Mark the deck perimeter accurately with string lines and pegs. Check corners are perfectly square using a builder's square or the 3-4-5 triangle method: measure 3 units along one side, 4 units along the other, and the diagonal should measure exactly 5 units. Clear all vegetation within the deck footprint and, if possible, lay a weed control membrane across the area before any work starts. This prevents weeds growing up through the deck frame later. Dig out any soft or uneven ground and replace with a layer of compacted gravel (50–75mm). Good airflow and drainage beneath the deck frame is critical in the NI climate. A deck with wet, poorly drained ground underneath will rot far faster than one with free-draining material beneath it.
STEP 2: SET THE DECK POSTS
The posts form the foundation of your deck frame. You have two main options for fixing them:
- Bolt-down post bases: Metal post base hardware is bolted to a concrete pad or paving slab. Clean, adjustable, and easier to replace if a post ever needs changing. Our recommended method for most DIY builds.
- Concrete-in posts: Posts set directly into concrete in a dug hole. Stronger for taller or elevated decks, but harder to replace and more labour-intensive.
For bolt-down post bases: dig a 300x300mm hole, 300mm deep at each post position. Fill with post mix concrete, check the base plate is level, and allow to cure for at least 24 hours before loading. Set the first post at a fixed corner at your finished height. Use a long spirit level and string lines to set all remaining posts to the same level. This is the most important accuracy check in the whole build. Time spent getting posts perfectly level saves hours of frustration when the joists go on.
STEP 3: FIX THE OUTER FRAME (LEDGER AND RIM JOISTS)
The outer frame, sometimes called the ledger board and rim joists, defines the shape of your deck and carries the main structural load. If the deck connects to the house: fix a ledger board directly to the house wall using suitable masonry fixings. The ledger must be fixed above the damp proof course (DPC). Seal the joint between the ledger and wall with flashing tape to prevent water ingress which is one of the most common causes of house damp from decking.
Fix the outer rim joists to the posts using structural screws and joist hanger hardware. Check the frame is square (diagonal measurements must be equal) before fixing permanently. A frame that's even slightly out of square will cause headaches when the boards go down. Set the frame with a slight fall away from the house, approximately 1:100 (10mm per metre). This allows water to drain off the deck surface rather than sitting on it or running towards the building.
STEP 4: INSTALL THE INTERNAL JOISTS
With the outer frame fixed and square, install the internal joists at your chosen spacing (400–500mm centres for standard 32mm decking boards). Use joist hangers for a clean, strong, and adjustable connection as they're far quicker than toe-screwing and give a more accurate finished height.
Fix a joist hanger to the rim joists at each joist position, drop the joist in, and nail through the hanger into the joist using the correct joist hanger nails (standard screws are not suitable for this as they can pull through under load). Check each joist is level with its neighbours as you work across the frame. Any joist that's high or low will create a bump or dip in the deck surface above. At the ends of joists, add blocking (short offcuts of joist timber fitted between joists) to prevent the joists from twisting or rotating over time, a common problem with longer spans.
STEP 5: LAY THE DECKING BOARDS
With the frame complete, you're ready to lay boards. Start from the most visible edge, typically the edge furthest from the house, and work back towards the wall.
Leave a consistent gap between boards of 5–8mm. This gap allows water to drain through the deck surface, prevents boards from swelling and buckling in wet weather, and allows air to circulate beneath. Do not butt boards tightly together as they will swell and lift. Fix each board with two stainless steel or hot-dipped galvanised screws per joist. Pre-drill to prevent splitting, particularly near board ends. Standard decking screw placement is 20–25mm from the board edge. Stainless steel fixings are worth the small additional cost, standard zinc-plated screws will rust and stain the deck surface within a couple of NI winters.
As you approach the far end of the deck, measure across and adjust your board spacing slightly to finish with a full-width board against the house wall. A very narrow sliver of board against the wall looks poor and is also a trip hazard. For the final boards nearest the house, you'll likely need to rip-cut boards to width. Measure carefully and cut cleanly with a circular saw.
STEP 6: TRIM THE OUTER EDGES
Once all boards are laid, snap a chalk line along the outer edge of the deck and trim the board ends to a clean, consistent line with a circular saw. Use a straight piece of timber clamped along the line as a saw guide. Fix a fascia board (a flat piece of matching timber or composite trim) along the outer rim joist to hide the frame and give the deck a clean finished edge. Fix with screws, ensuring the fascia sits flush with the top surface of the boards.
If your deck is raised above ground level (even by a small amount), fit the fascia all the way around to prevent access underneath by pets, rodents, or debris build-up.
STEP 7: TREAT AND FINISH THE TIMBER
All cut ends of pressure-treated timber must be retreated with end-grain timber preservative immediately after cutting. The pressure treatment doesn't penetrate all the way through, so fresh cut ends are vulnerable. Once the deck is complete and the timber has had a few weeks to dry out (new pressure-treated timber is often still damp when purchased), apply a quality decking oil or stain. In Northern Ireland, this is not optional as untreated decking will grey and begin to degrade quickly in the damp climate.
- Decking oil: Penetrates the timber and feeds it from within. More natural finish. Needs more frequent reapplication (annually in NI).
- Decking stain: Creates a surface film as well as penetrating. Available in a range of colours. Longer-lasting than oil but can peel if not reapplied before it breaks down.
Whichever product you use, apply it on a dry day when rain isn't forecast for at least 24 hours. Work along the grain of the timber and don't leave pools or runs.
Balustrades and handrails
If any part of your deck is 600mm or more above the adjacent ground, a balustrade (railing system) is required for safety. Balustrade systems in timber and composite are available from MacBlair branches. For decks over 300mm above ground you should also consider Building Control notification in Northern Ireland. Speak to your local council if unsure.
Common Mistakes to Avoid
- Using untreated timber for the frame: Structural posts and joists must be pressure-treated. Untreated timber in the NI climate will rot in two to three years.
- Poor post spacing: Posts too far apart allow joists to flex and bounce underfoot. Maximum 1.8m between post centres for a ground-level deck.
- Not leaving board gaps: Boards fixed tight together will swell in wet weather and buckle. Always leave 5–8mm between boards.
- Using the wrong fixings: Zinc-plated screws will rust and stain the deck. Always use stainless steel or hot-dipped galvanised fixings for all exposed outdoor timber work.
- Bridging the DPC: If fixing a ledger board to the house, it must be above the damp proof course and the joint properly flashed. Bridging the DPC will cause damp inside the house.
- Not retreating cut ends: Every cut exposes untreated timber. Always apply end-grain preservative to fresh cuts immediately.
- Skipping the timber treatment: In Northern Ireland, decking oil or stain is essential maintenance, not optional. Untreated decking will look grey and begin to crack within a season.
Frequently Asked Questions
A typical 20–30m² ground-level deck takes most DIYers two full weekends, one for the frame and posts, one for laying boards and finishing. Allow extra time if the ground needs levelling or if you're building on a slope.
Generally no for a ground-level deck under 300mm high covering less than 50% of the garden. For raised decks, listed buildings or conservation areas, check with your local council before starting.
Well-maintained pressure-treated timber decking typically lasts 15–20 years. Annual oiling and prompt treatment of any damage significantly extends service life. Hardwood species like balau or iroko can last 25+ years.
Yes. A deck can be built over an existing concrete or paved surface. Use bolt-down post base hardware fixed to the concrete rather than dug-in posts. Ensure there's still adequate drainage and airflow beneath the frame.
A minimum of 5mm and ideally 6–8mm. This allows drainage and ventilation while keeping the gap small enough to be safe underfoot. Timber boards will swell slightly when wet, so never fix them with zero gap.
Get Your Decking Materials from MacBlair
MacBlair stocks everything you need to build a deck from scratch. Pressure-treated structural timber, decking boards (timber and composite), posts, joists, joist hangers, stainless fixings, decking oil and stain, and all the tools and hardware for the job. Our team across Northern Ireland can help you calculate quantities and make sure you have the right materials before you start. Visit your nearest MacBlair branch or browse our full timber and landscaping range at macblair.com.