



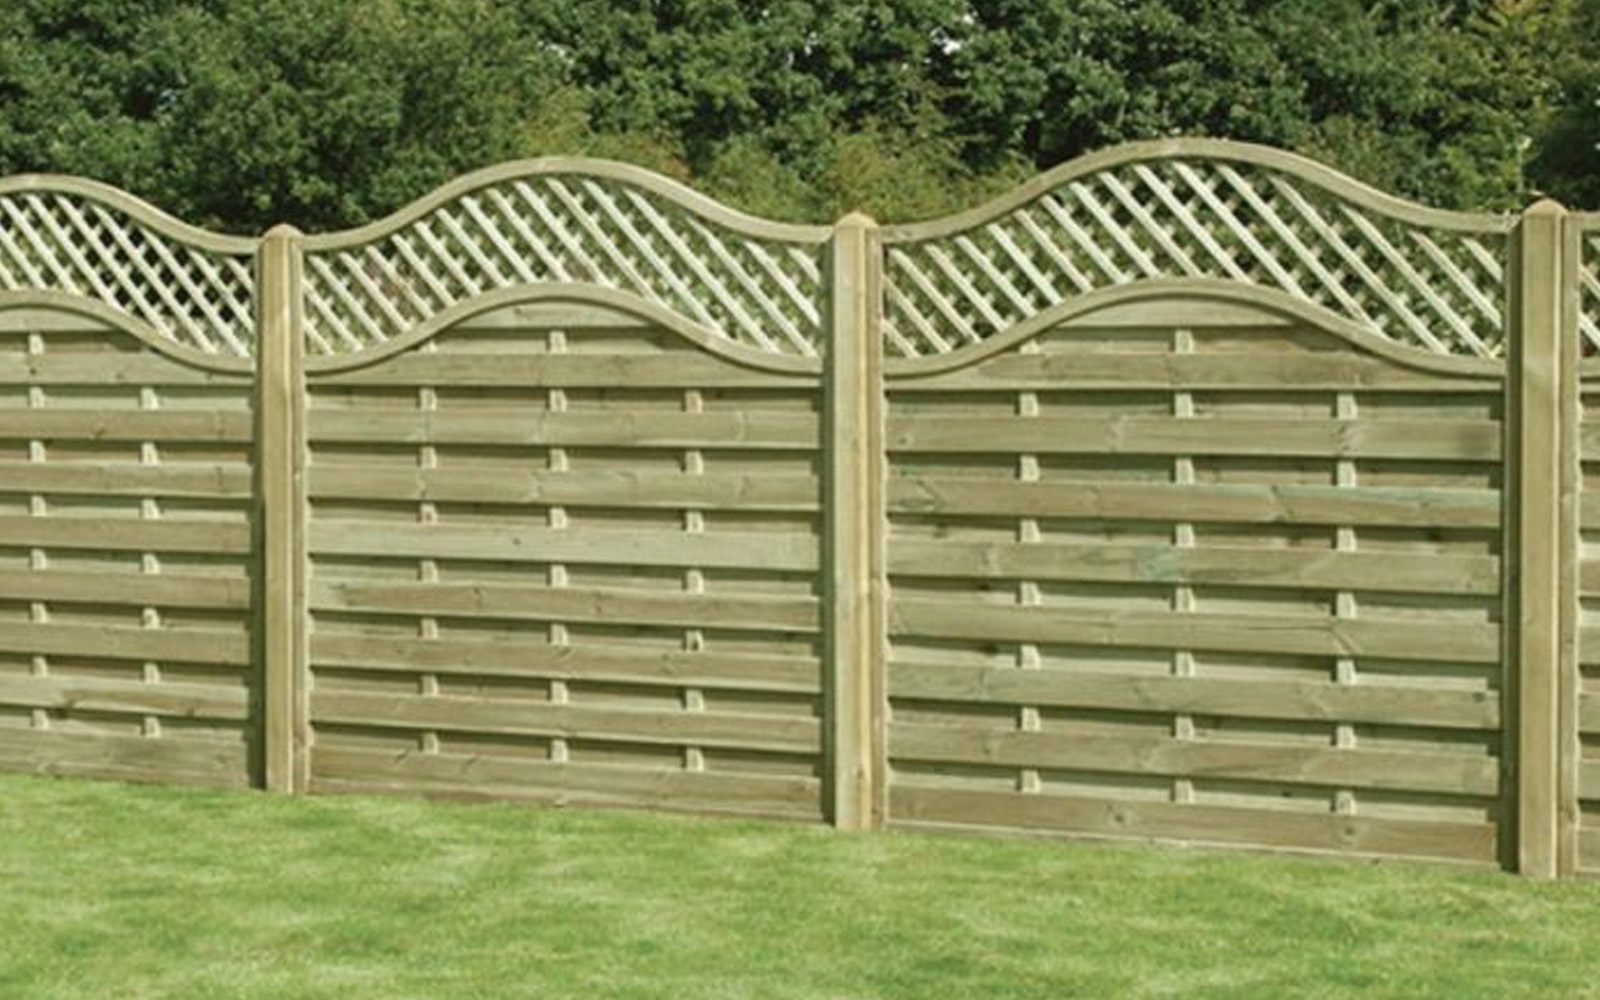
How to Build a Panel Fence: A Complete Step-by-Step Guide
Panel fencing is the most popular choice for garden boundaries in Northern Ireland. Quick to install, available in a range of styles, and gives you an instant, solid result. Whether you're replacing blown or rotten sections or fencing a garden from scratch, the job is well within reach for a competent DIYer.
The key is getting the posts right. Get those correct and the panels go in easily. Rush the groundwork and you'll be back out fixing a leaning fence inside a couple of years.
Before You Start
Check Your Boundaries
Confirm where your boundary sits before ordering anything. Check your Land Registry title documents. In Northern Ireland these are available through Land & Property Services (LPS). If in doubt, agree the boundary line in writing with your neighbour before work begins.
Planning Permission
In Northern Ireland, fences up to 2 metres high generally don't require planning permission under permitted development rights, unless your property is in a conservation area, an Area of Outstanding Natural Beauty, or the fence is adjacent to a road (where the limit drops to 1 metre). Check with your local council if unsure.
Underground Services
Before digging any post holes, call Dial Before You Dig (0800 096 8677) to check for buried gas, electricity, water and telecoms services. It's free and could save your life.
What You'll Need
| Tools | Materials |
|---|---|
|
Choosing Your Posts
Timber Posts
Pressure-treated softwood is the standard choice for domestic panel fencing. Look for UC4 hazard class, the rating for timber suitable for ground contact. Anything lower will rot prematurely in Northern Ireland's wet climate.
Concrete Posts
Concrete posts last indefinitely and are particularly suited to coastal areas where salt air degrades timber more quickly. Many concrete posts are pre-slotted to take standard panels and gravel boards directly. They're heavier to handle and two people are needed to position them safely.
Post Sizing Guide
| Fence Height | Post Size | Total Post Length | Notes |
|---|---|---|---|
| 0.9m (3ft) | 75 × 75mm | 1.8m | 600mm in ground min |
| 1.2m (4ft) | 75 × 75mm | 1.8m | 600mm in ground min |
| 1.5m (5ft) | 100 × 100mm | 2.1m | 600–750mm in ground |
| 1.8m (6ft) | 100 × 100mm | 2.4m | 750mm on soft/clay sites |
The portion of post going into the ground should be at least one-third of the total post length. For a 2.4m post that's a minimum of 600mm then go to 750mm on soft, clay or waterlogged ground.
Fixing Your Posts
- Post mix (dry-pour): Dry granules poured into the hole around the post, then water added to activate. Quick and straightforward for free-draining soils.
- Wet-mixed concrete (1:2:4 mix): Ballast and cement mixed to a stiff consistency and tamped in layers. Recommended for Northern Ireland's heavy clay soils, it fills completely and cures reliably regardless of ground moisture.
- Bolt-down spikes: Useful for sheltered spots with free-draining soil. Not suitable for clay, waterlogged ground, or any exposed position.
NI ground note
Much of Northern Ireland sits on clay subsoil with high rainfall year-round. Wet-mixed concrete gives the most reliable results in these conditions.
Step-by-Step Installation
Step 1: Mark Out the Line
Knock a peg in at each end of your fence run and stretch a string line between them at post-top height. Mark each post position at 1.83m centres (to suit standard 1.8m wide panels). If the total run doesn't divide evenly, plan for a narrower infill panel at one end. Check your string line is level throughout.
Step 2: Dig the Post Holes
A post hole auger gives the cleanest results and is available from hire shops across Northern Ireland. Dig each hole to at least one-third of the post length. 600mm for a 2.4m post, 750mm on soft or clay sites. Diameter should be approximately 300mm for a 100mm post. NI's clay soils can fill holes with water quickly. Bail out standing water before setting posts and place a 100mm layer of gravel in the bottom of each hole in very wet ground.
Step 3: Set the End Posts
Drop the first post into its hole and check plumb on both faces, front-to-back and side-to-side. Prop with timber offcuts or have a helper hold it while you fill. Finish the concrete as a slight mound sloping away from the post at ground level. This prevents water pooling against the timber, one of the most important steps for longevity in NI's wet climate. Repeat for the second end post.
Step 4: Set the Intermediate Posts
Re-tension the string line between end posts and set each intermediate post in turn, checking plumb on two faces and that the post top just touches the string line. Space at exactly 1.83m centres, measured post-centre to post-centre. Allow all posts to fully cure before attaching panels. 24 hours for rapid-setting post mix, 24–48 hours for standard concrete.
Step 5: Fit the Gravel Boards
Gravel boards sit horizontally at ground level between posts, lifting the base of the fence panels clear of the soil. In Northern Ireland, gravel boards are essential, panels in contact with damp ground will rot from the bottom upwards regardless of treatment. Fix 150mm × 22mm pressure-treated gravel boards into slots on concrete posts or to timber battens on timber posts. Concrete gravel boards are an alternative that will last indefinitely.
Step 6: Fit the Panels
Slot each panel into place between the posts (slotted concrete posts) or fix against timber posts with galvanised panel clips. Use clips rather than screwing directly through the panel as they allow slight flex in wind, reducing the chance of cracking at the fixing point. Check each panel is level before fixing. Fit a post cap to every post once panels are in. Post caps protect end grain from water ingress, the most common cause of premature post rot.
Step 7: Treat and Finish
Apply exterior wood preservative or fence stain to all exposed timber such as posts, gravel boards and panels. Pay particular attention to any fresh saw cuts, which expose untreated end grain. In Northern Ireland's climate, softwood fencing benefits from annual treatment.
Common Mistakes to Avoid
- Posts not deep enough: One-third of post length in the ground is the minimum. Err on the side of deeper, especially on soft or clay sites.
- Flat concrete at the post base: Always mound and slope away from the post. Pooling water accelerates rot at the most vulnerable point.
- Undersized posts: 75 × 75mm posts are not adequate for 1.8m panels, use 100 × 100mm. Undersized posts flex and work loose over time.
- Checking plumb on only one face: Always check a post is vertical on both faces before filling.
- Fixing panels before concrete cures: Wind loading before the concrete has set can shift posts permanently. Wait the full cure time.
- Uncoated steel fixings: Always use galvanised or stainless steel fixings as standard steel rusts quickly in NI conditions.
- No gravel boards: Not optional in Northern Ireland. Panels in ground contact will rot from the bottom regardless of treatment.
Frequently Asked Questions
Solid lap panels act like a sail in strong winds. For exposed or coastal sites, consider hit-and-miss panels or trellis-topped panels that allow some wind through.
Generally no. A 1.8m fence falls within permitted development. Check with your local council if adjacent to a road or in a conservation area.
Only if they're still genuinely sound and firm in the ground, no soft rot, still plumb. If a post has any give or feels soft at the base, replace it.
Get Your Materials from MacBlair
MacBlair stocks fence posts, fence panels, post mix, concrete, gravel boards and all the fixings and treatments you need, across branches throughout Northern Ireland.
Visit your nearest MacBlair branch or browse our landscaping and gardening range at MacBlair.com